Here you'll find out about some of the features available on Disciple's Community platform.
Watch our demo video to see how a Disciple-powered Community platform works.
Put simply, the Disciple platform consists of three parts:
- The Console, which you can access to manage your content and Community using a computer or mobile device browser. This is your personal dashboard where you can manage the data, content and members of your Community. This is your own personal space that only you (and your team) control.
- The Mobile App, a Disciple-powered Community platform your members will use to connect with you and other Community members. Your app will have the features and branding you choose – it'll be your own branded Community, available either on both iOS and Android (for the Mobile App Plan) or as a web app your members can save onto their device (for the Web Plan).
- The Web Community, a progressive Web App developed by Disciple to mirror the experience of the mobile App, with a slightly limited feature set.
This article covers the features you and your Community members will find in your App.
Contents:
- Terminology
- The community members' experience
- Menu structure
- Member profiles
- Groups
- Posts
- Notifications
- Immersive Wall
- @Mentioning and #Hashtagging
- Moderation
- Messaging & Following
- Events
- Livestreaming
- Pages
Let's Talk Terminology:
- Host – that’s you! A Community leader whose brand and content provides the main purpose of your Community platform.
- Member – an individual who joins your Community and is able to interact with its features and content.
- Group – a vertical wall of Posts from you or your members.
- Push Notification – a notification that pops up on your member's device.
- In-App Notification – a notification that appears within your members' notification centre on the bottom navigation.
- In-App Purchase (IAP) – a digital purchase via the Apple and Google App Stores that gives members access to a one-off item, such as a video series or PDF.
- Subscription – a reoccurring payment for access to the Community as a whole, or a selection of Groups and Pages.
- Paywall – messaging that precedes IAP or subscription to let your members know that there's premium content.
- Call to Action (CTA) – a link or button that prompts your members to perform an action or go somewhere.
- Deeplink – a link that takes you from one area of your Community platform to another.
Your Community Members' Experience:
Let's start with your members’ Community experience, step by step, from downloading and launching your App from one of the App Stores, through registration and onto the ways you can publish content, connect your Community, and create revenues.
Launch Screen & Registration:
Once someone has downloaded your App from one of the App Stores and opened it, the first thing your members will see is the launch screen. This screen is shown for a few seconds while the App is loading in the background.
Your members will be prompted to log in or sign up. To sign up, all they need is an email address and a password before deciding on their username and adding a profile picture. After choosing whether or not they want to see notifications from the App, they're good to go.
We also offer email verification. If this is turned on, the member will receive an email with a link which they will need to click on to validate their email address and become a verified member.
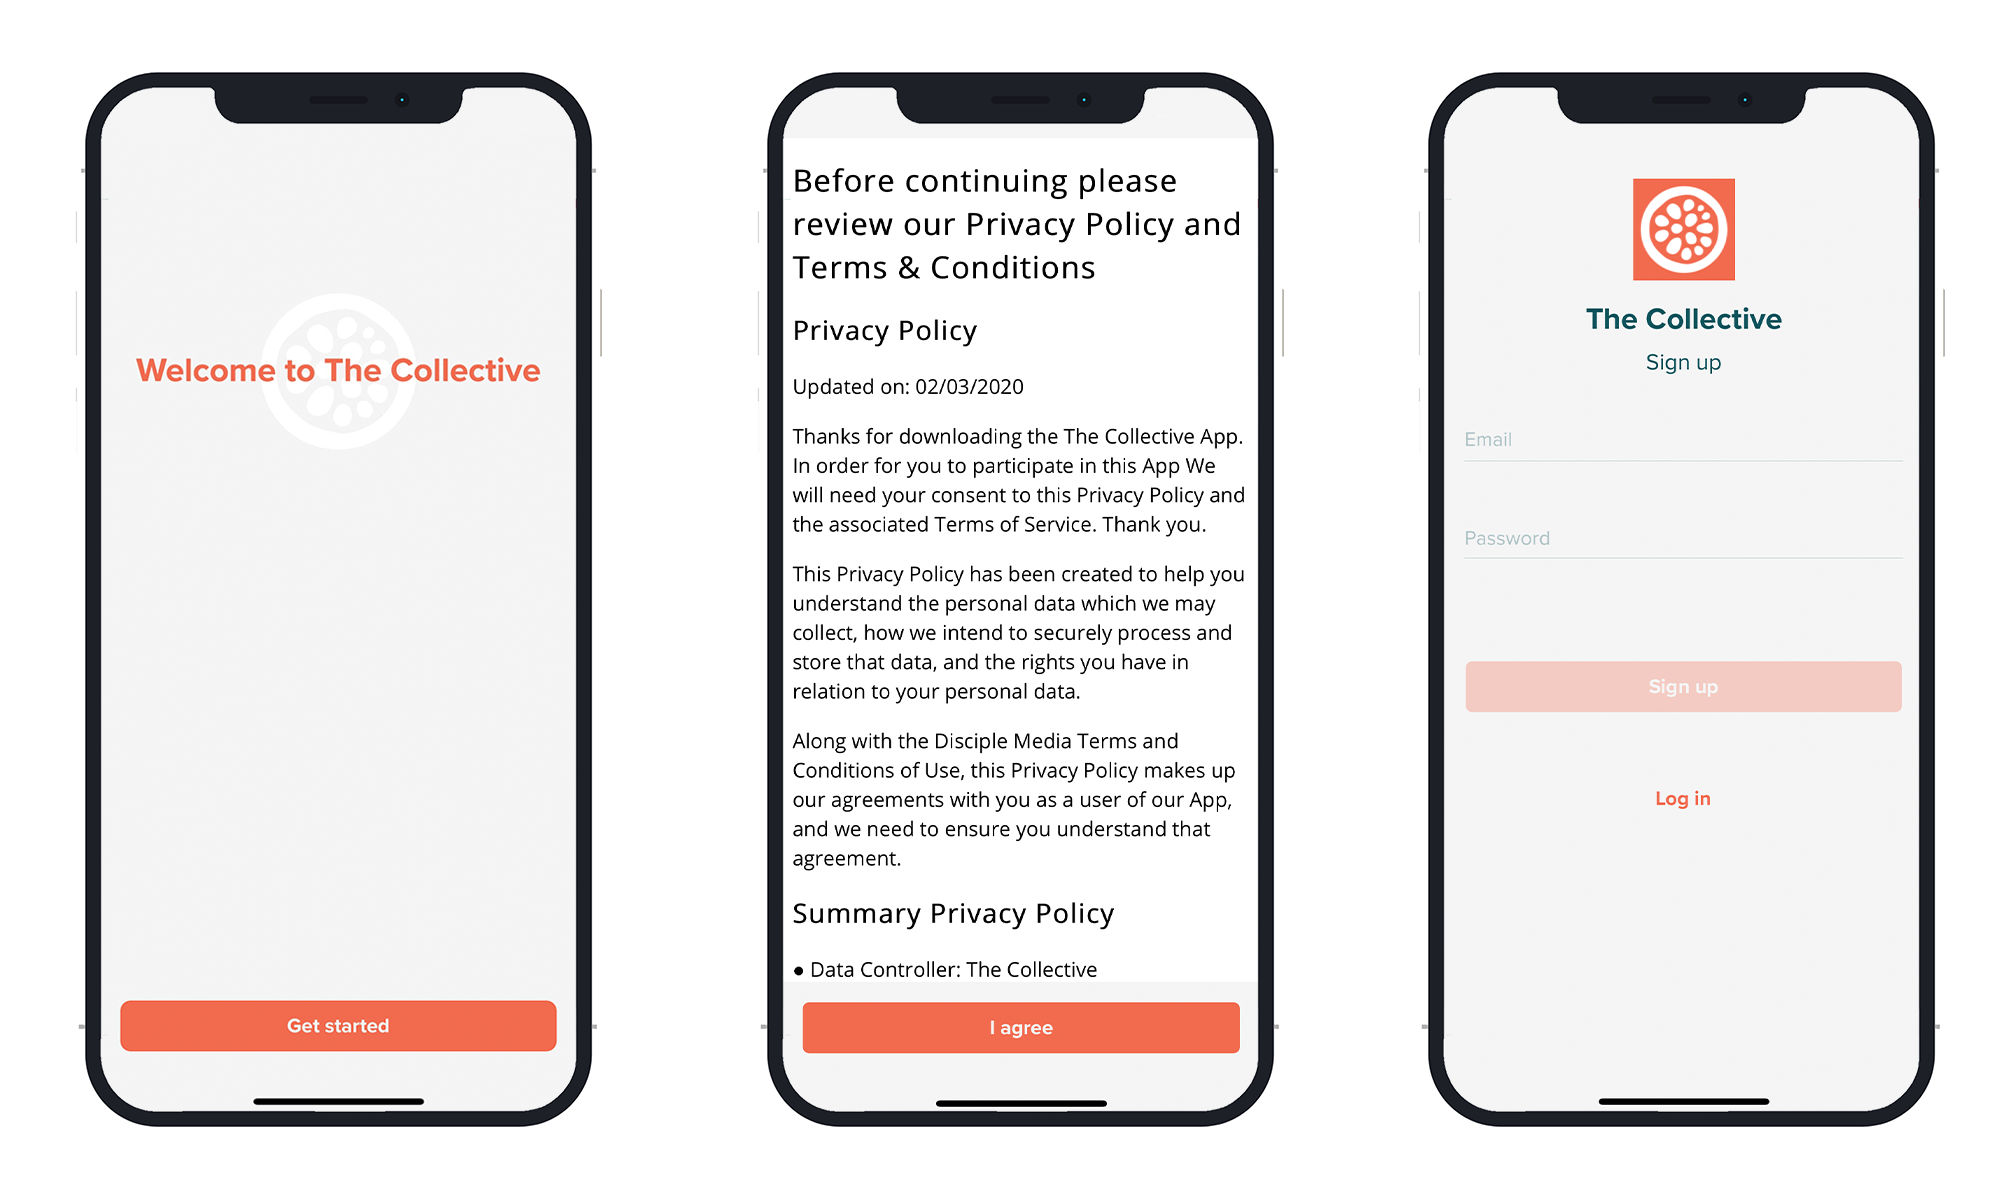
Here you can see the process members experience when they sign up
Left to right: Launch screen, terms and conditions & privacy policy pop up, registration screen.
Invite-Only:
We also offer the ability to only allow specific people to become a member of your Community. With our invite-only feature, you can send invitation emails from the Disciple Console to specific people who can then register their profile using a discrete web portal.
If someone downloads an invite-only app from one of the App Stores, they will not be able to access the Community without that invite. The only option given in the App is to log in. Learn more about invite-only Communities here.
Menu Structure:
Disciple uses bottom navigation and a right-hand "burger" menu.
The bottom navigation is compromised of 5 items: your home page, direct messages, profile, notification centre and right-hand menu.
These are the standard items featured in the right-hand menu:
- Individual Groups
- Activity Feed
- Pages
- Events
- Immersive wall
- Webpage
- Support & FAQs
The order of these items can be changed to your liking via the navigation section of your Console, completely remotely. Learn more here.
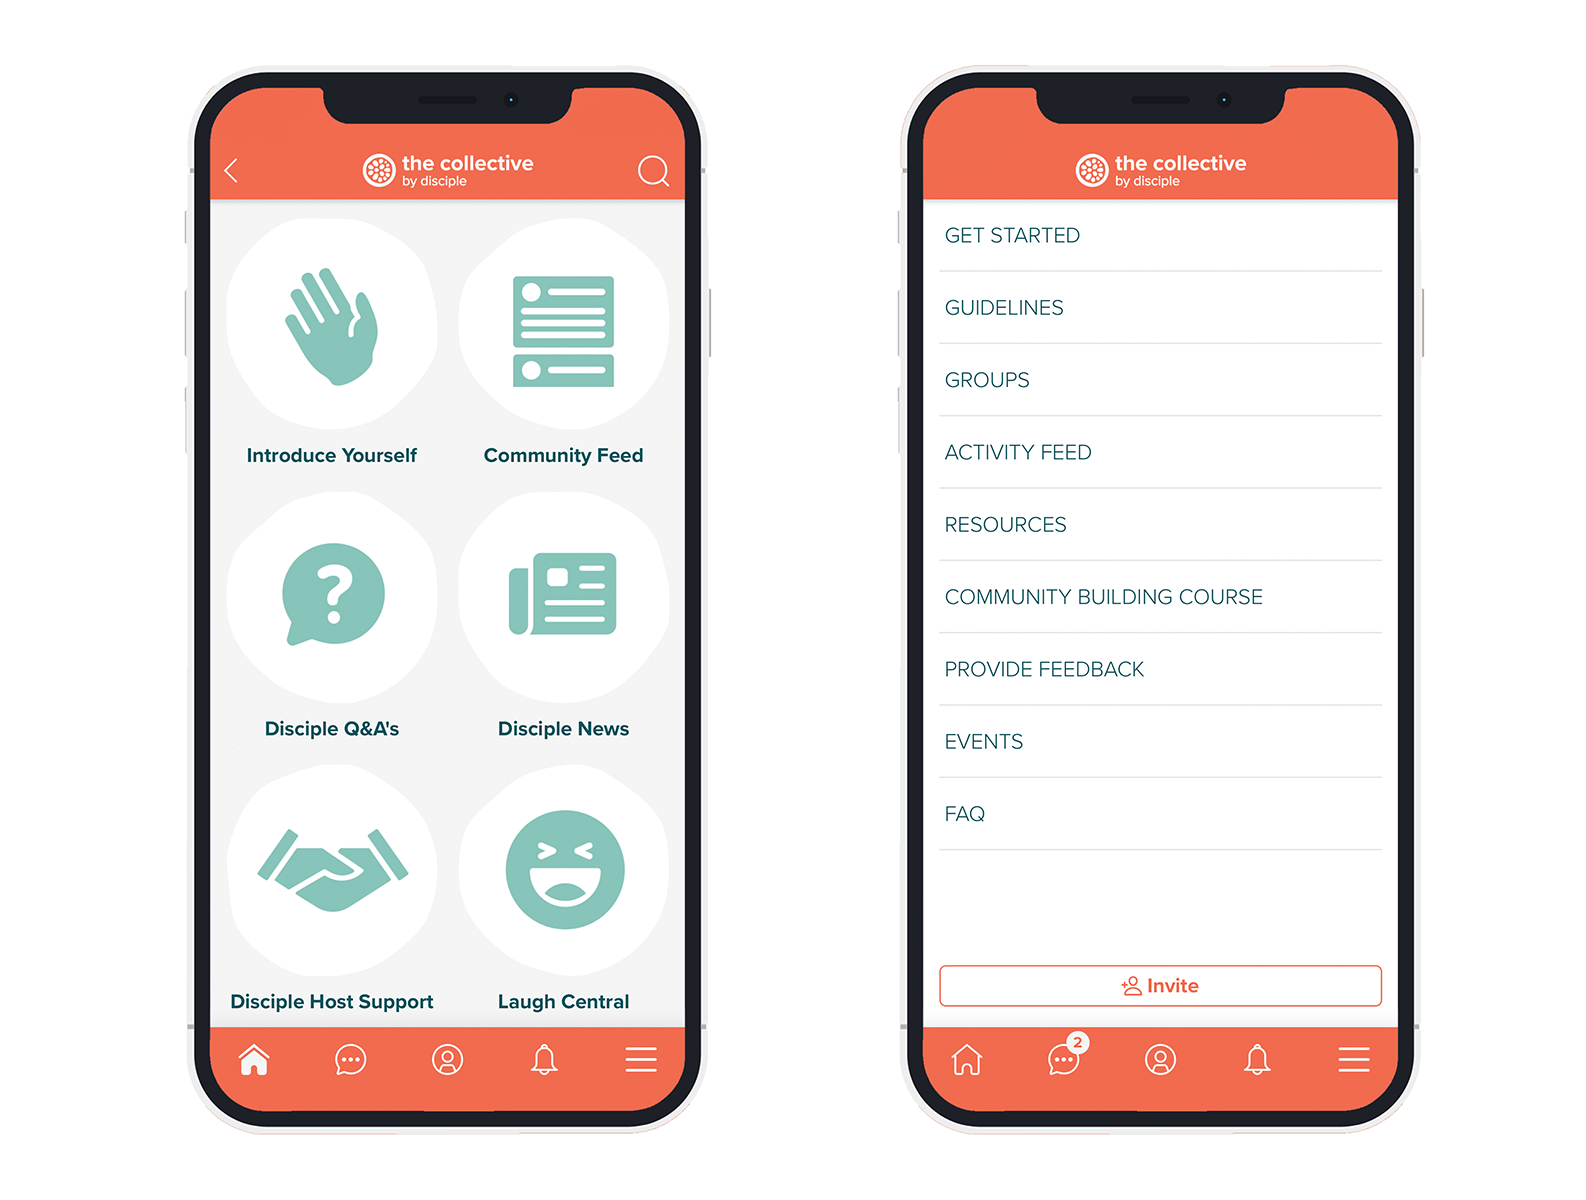
On the left you can see a Page section set up as an alternative menu. On the right you can see the typical Disciple community right-hand menu structure. In both images you can see our bottom navigation.
The Member Profile:
By tapping on the avatar in the middle of the menu, members will be able to access their profile. This is where members can change their picture, as well as access general settings. Members will have the option to adjust their notification settings, change their password or logout and see what badges have been assigned to them.
Find out more about badges here.
In subscription or IAP based apps, members are able to view their purchase status as free or premium.
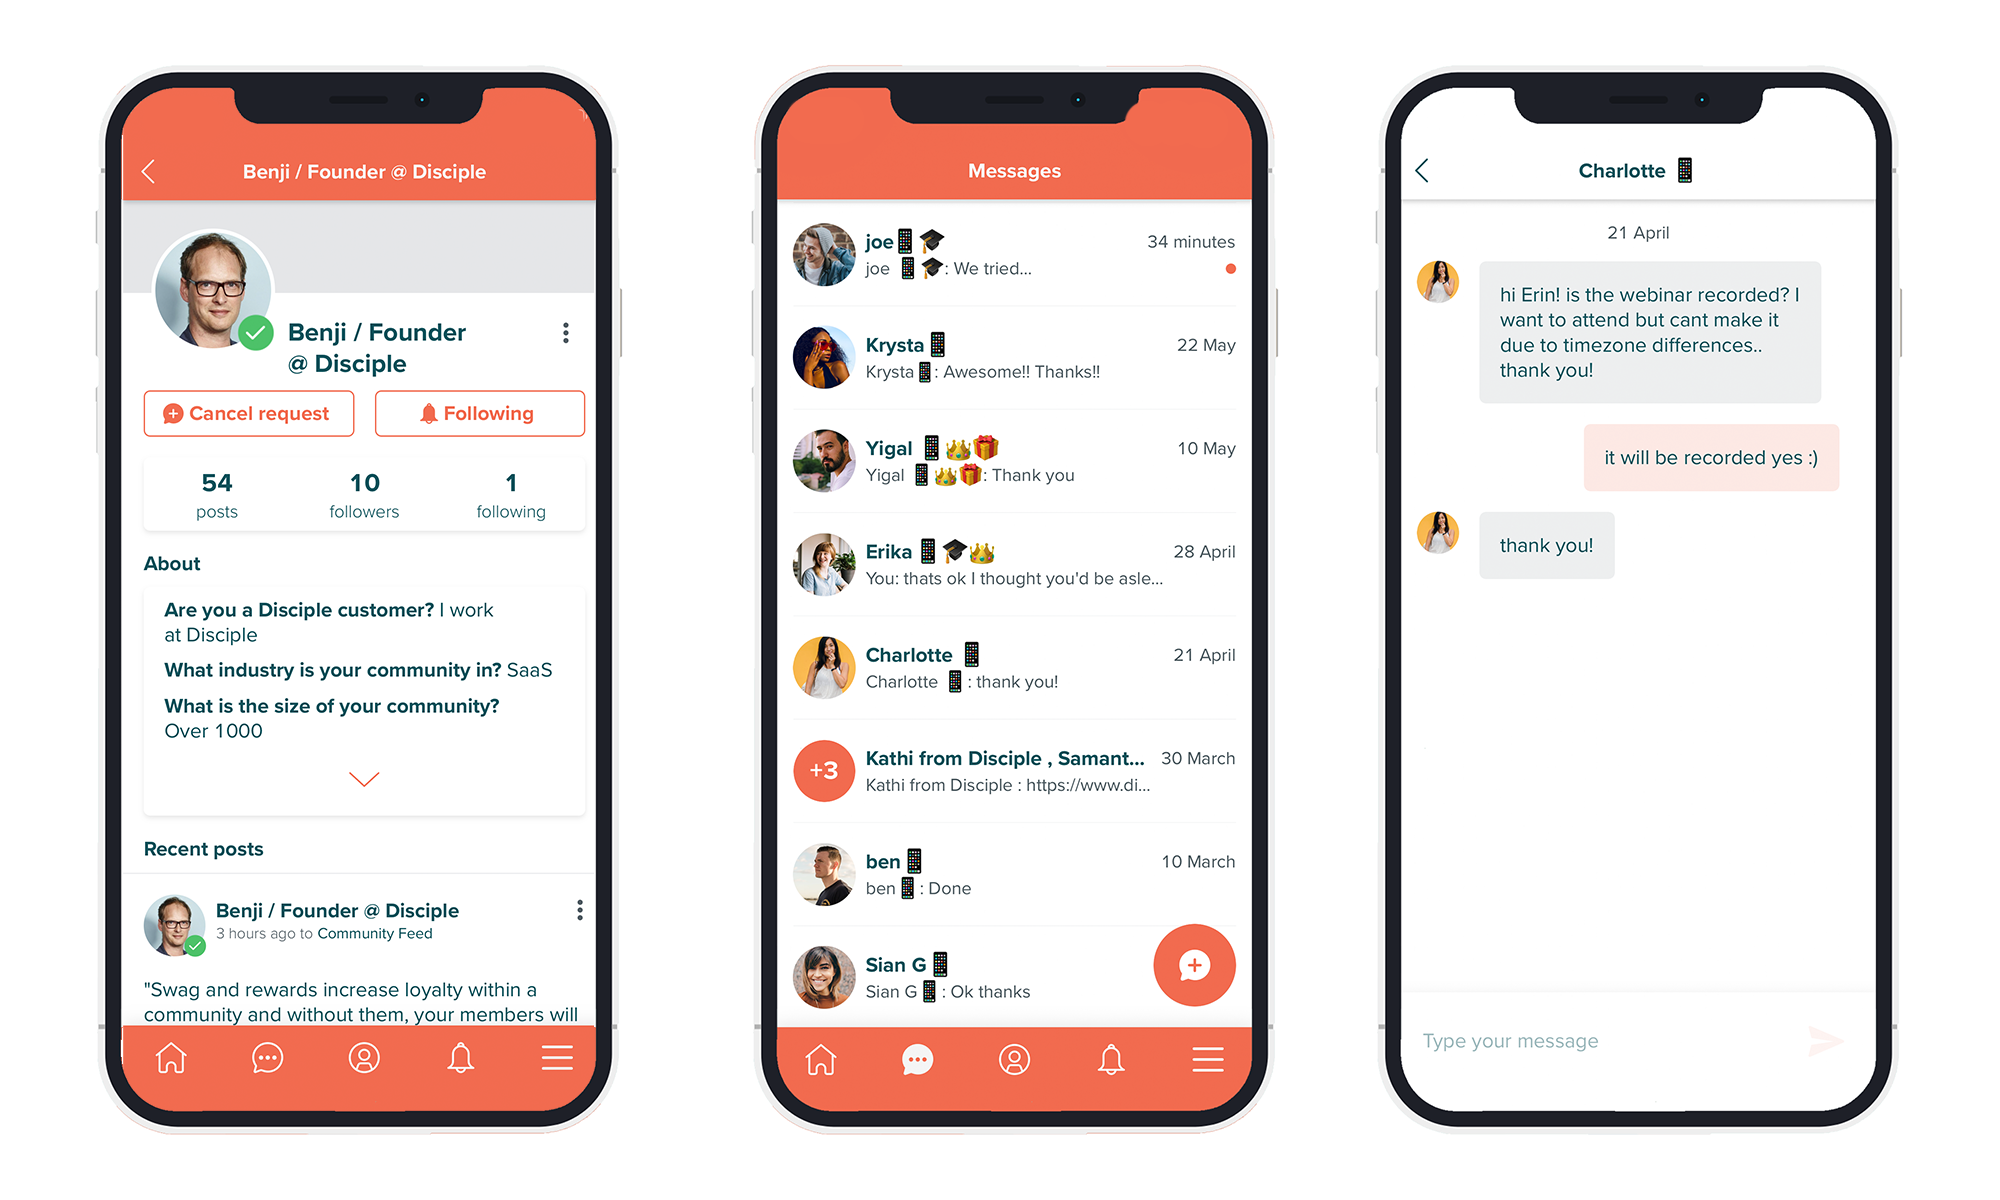
Members are able to see their own feed of previous Posts, as well as their answered profile fields. They can also visit another member's profile to view the content they have posted and send a message request.
Customise member profiles with specific fields to capture relevant data and easily segment members into relevant Groups. Members can find and connect with each other based on this information.
Left to right: View of a members' own profile vs the view of another members.
Groups:
Groups are a great way to foster connections and conversation in your Community. With Groups you can segment your Community easily and effectively into unlimited private and public Groups.
Traditional Groups exist to connect people based on interests, but with visibility that optimises the experience for Community leaders and members. To give Hosts flexibility with their Groups we offer four types – Mandatory, Public, Private and Secret.
Find out more about groups here.
Posts:
A range of content can be posted to a Group, including text, video, images, web-links, in-app deep-links, polls and GIFs (supported by giphy.com). All media posts can have a text description.
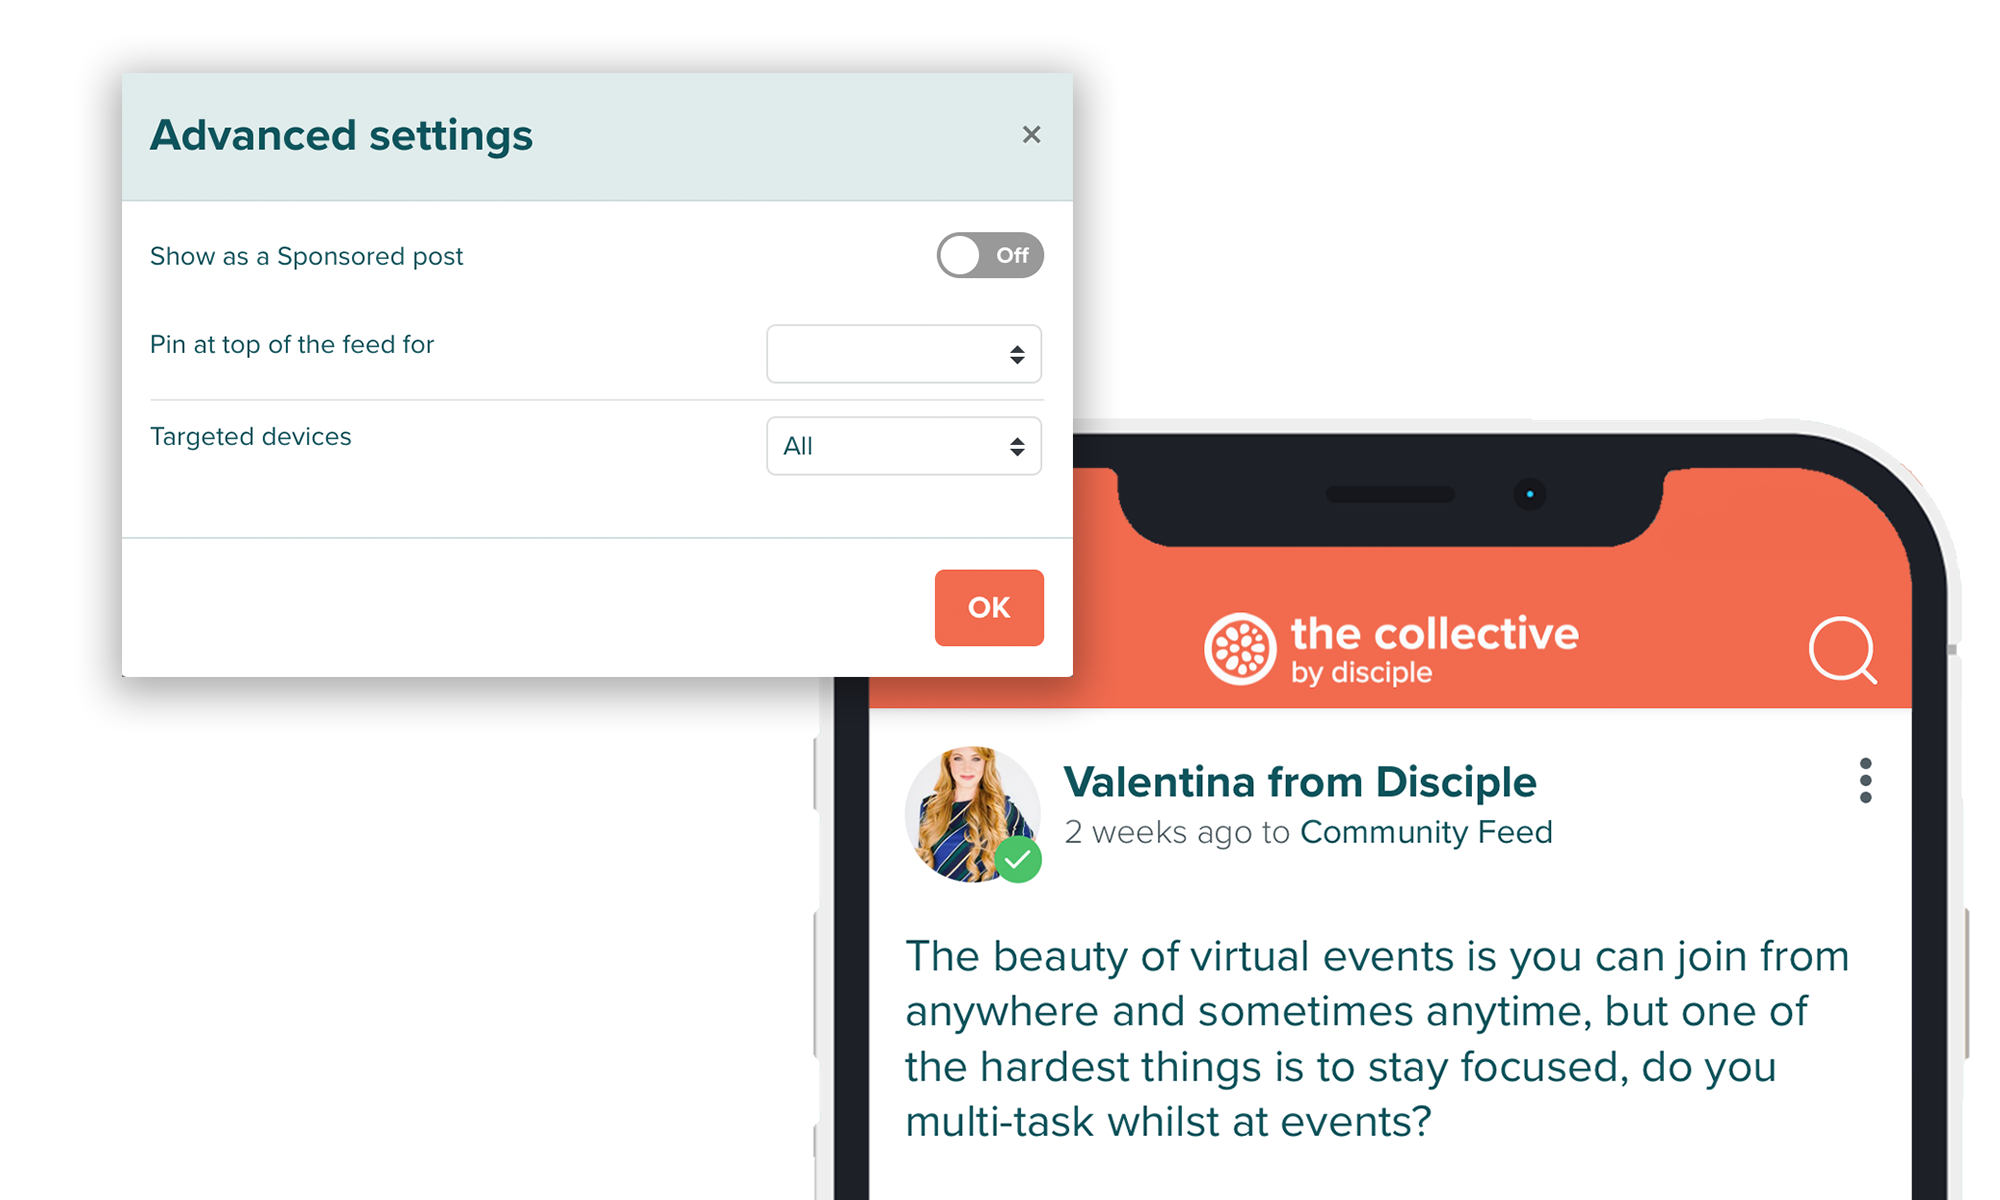
You can create posts with a wide range of content types and styles to keep your Community up to date and engaged.
Posts are one of your key ways to engage with your members. There are a couple of ways you can create posts – from the Console and from within your Community.
Notifications:
Connect with audiences at any time with powerful Push Notifications that can be targeted and personalised.
To prevent push notification fatigue amongst your Community, you can restrict less important posts with in-app notifications instead.
Each post can trigger a standard or custom text notification. Standard notifications are generated by the type of content shared. Custom text notifications are more flexible and can contain any text.
We recommend keeping notifications to less than 80 characters in order for the recipient to see the full message on lock screens. You can also use emojis to get your notifications noticed.

Left to right: Notification consent page, push notification in action & the in-app notification centre.
Find out more about notifications here.
Immersive Wall:
The Immersive Wall allows you to Post full-screen visuals as an alternative way to update your members with exclusive content. Working similarly to the Group feature but instead of a traditional posting feed, you can upload your posts containing either images or videos with minimal copy which are viewed in full screen and can be swiped through.
Members can view your exclusive image and video content in full view. If a link is added to the Post, all your members have to do is swipe up to be taken to the desired URL.
This is a mobile-only feature and there can be one Immersive Wall per App.
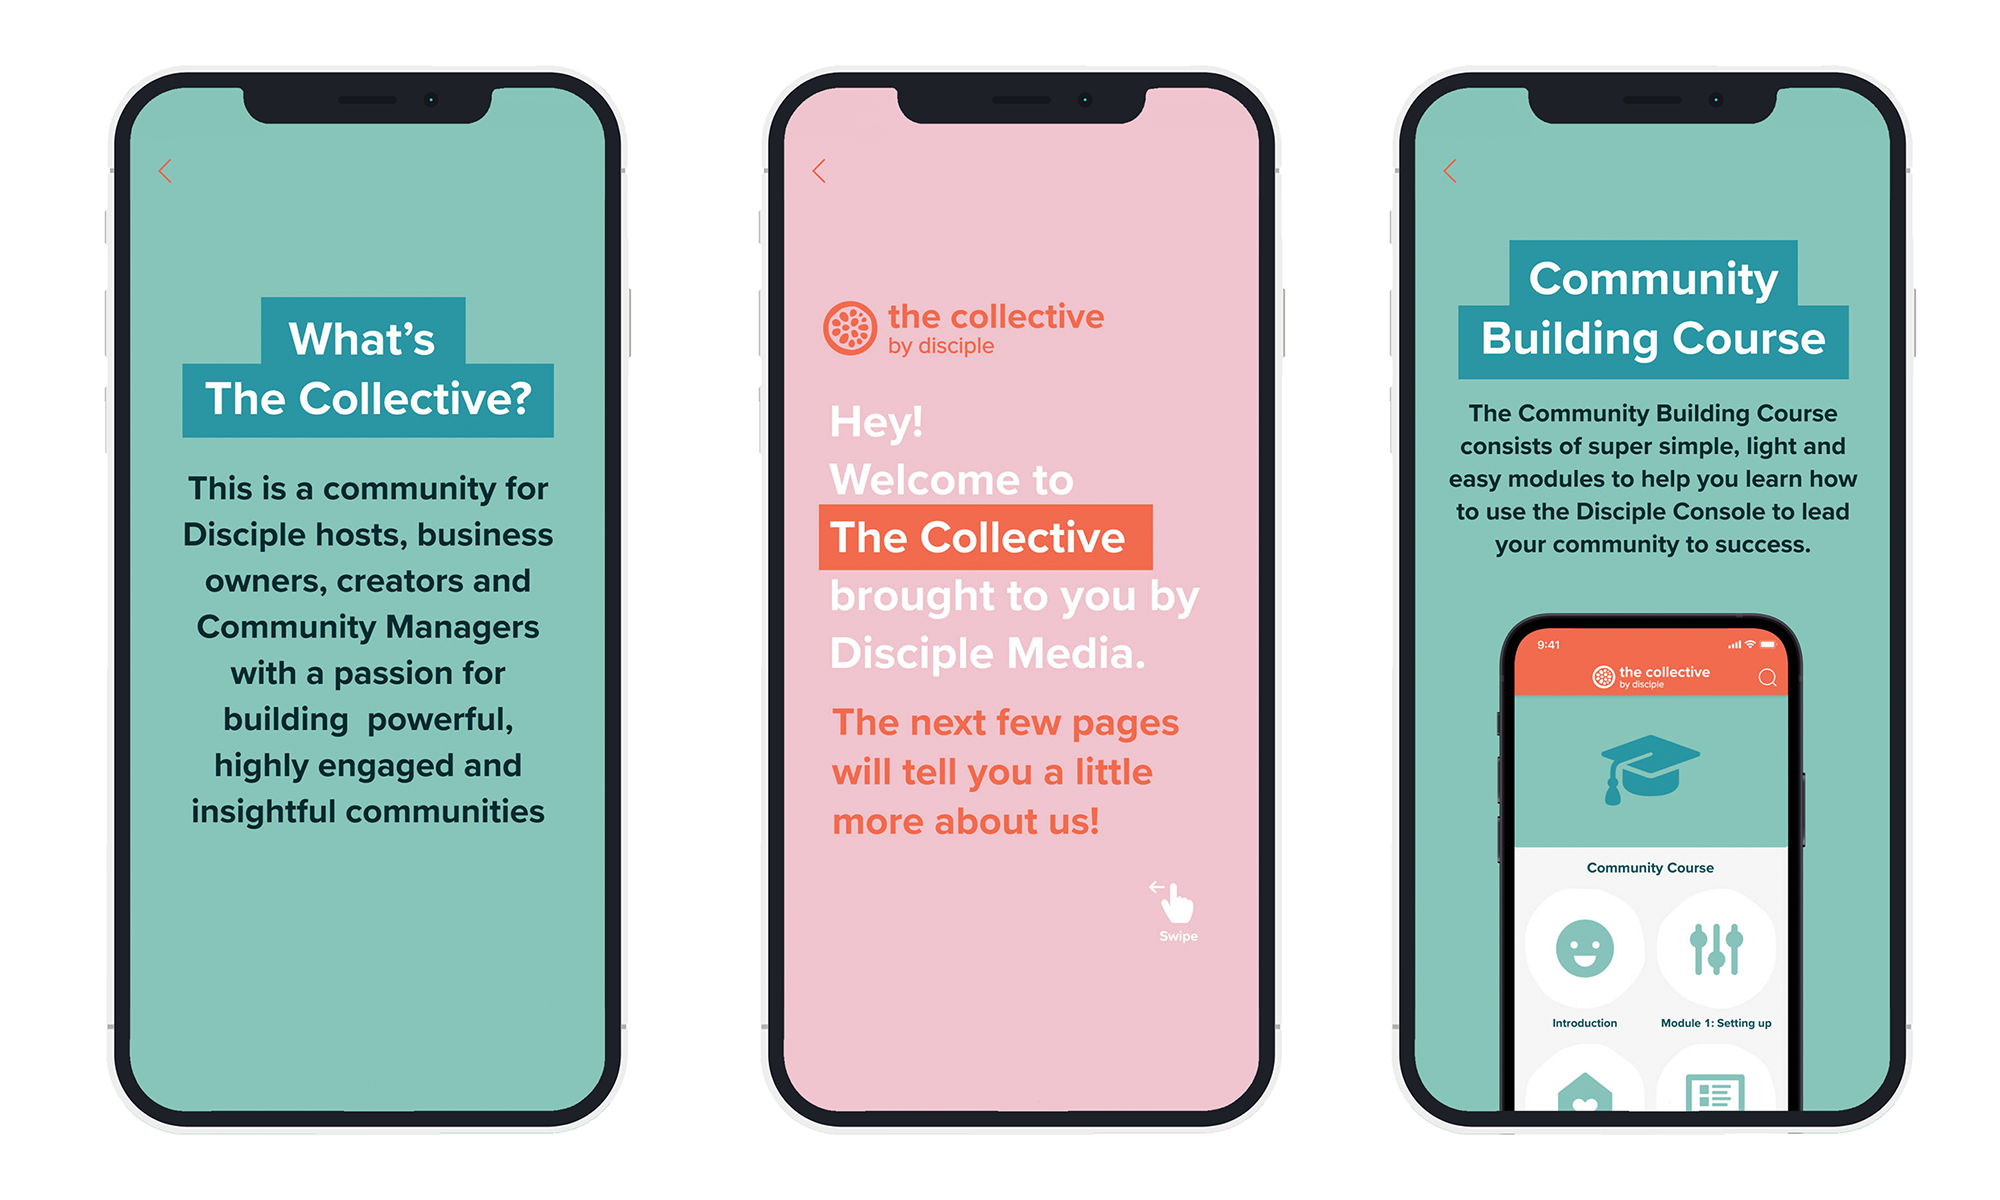
Find out more about the immersive wall here.
@Mentioning and #Hashtagging:
We’ve developed a variety of ways for members to connect with you and with others.
For example, we use an @mentions system. Hosts and members can tag other Community members in the text or Comment on a Post. Tagged members will then receive a notification telling them they’ve been mentioned. By visiting a members' profile, you can also choose to follow that member and will be notified when they make a Post.
We also use Hashtags & Hashtags search. When a member is creating a Hashtag in their Post (#) they can also see existing Hashtags to carry on the trend. Members are able to search for existing Hashtags and if a member clicks on a specific Hashtag, this will generate a separate feed for this Hashtag.
Here's some great use of @Mentions and #Hashtags.
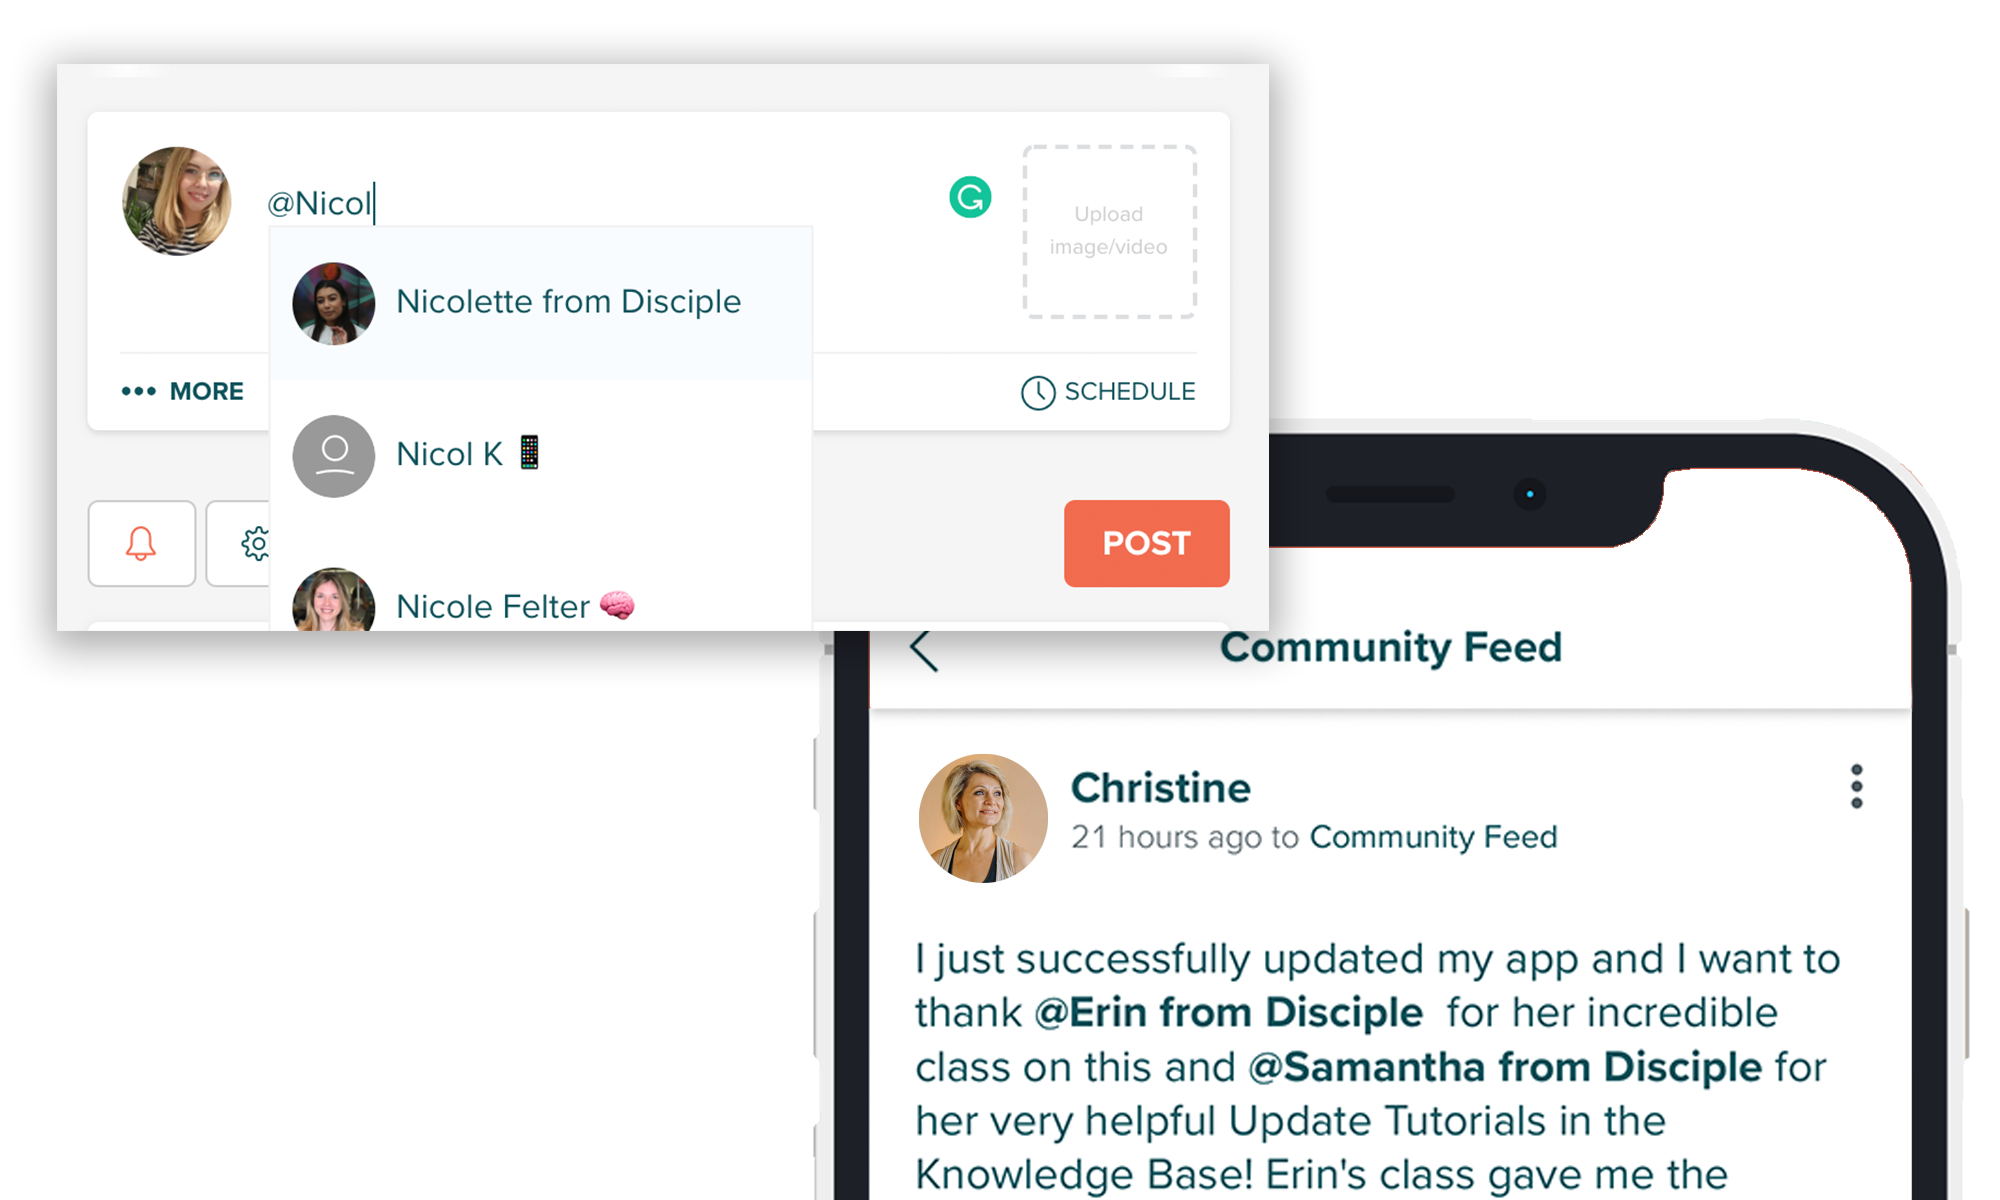
It's important to note that Hashtags do not currently support accents.
Moderation:
Keep your Community platform safe and clean with moderation tools. You can verify, report and shadowban Community members.
Alternatively, you can nominate trusted members of your Community to act as moderators too.
We care about maintaining positive relationships between members, but sometimes some people may not want to hear from others. To support those members, they can report and block other member's posts and direct messages if they need to.
*Please remember that followers of shadow-banned members will still receive notifications whenever they Post. This is done to not raise suspicion.
Find out more about moderation here.
Messaging & Following:
Click on another member's name or avatar to request to message them directly from their user profile. If accepted by that member, you will be able to start a direct messaging conversation. You can also search for other members based on their username or profile information.
Host profiles have the option to allow invitations to connect or disable invitations, depending on how accessible you want to be by your Community members.
Private messages between members are not available to view in the Console due to privacy regulations.
Members can also curate who they receive notifications from by following other members who share similar interests.
Events:
What could be better than getting your Community together for a group Event?
From being able to set an Event as online only, to having the event for certain eyes only, you can create a range of Events to bring your Community together to do what they do best.
Livestreaming:
Stream to your entire Community or to specific Groups with much higher video quality than on Zoom and Facebook.
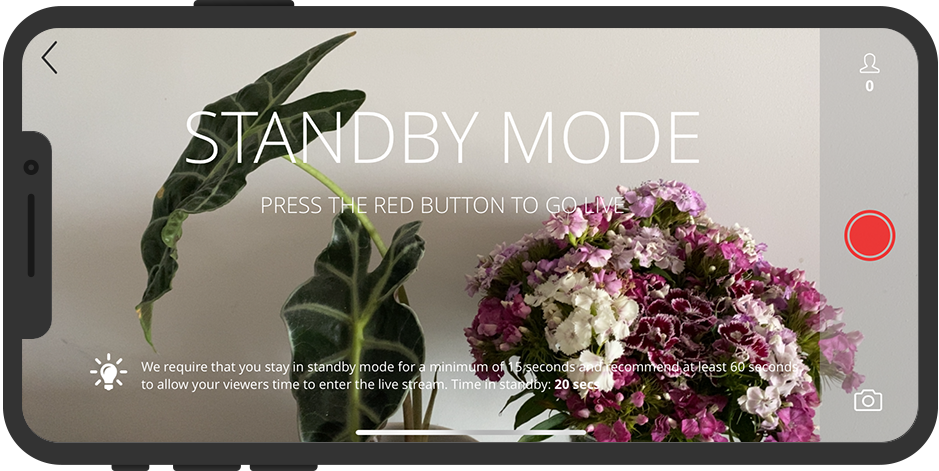
Members can send Comments in live chat which you will see on your screen and all other members see on their screens to enable direct communication between Host and members.
After the live stream is over, the video, the viewing numbers and all chat Comments are saved to the Console and can be retrieved. The recording can then be uploaded into a Group or Page of your choice directly from the Console.
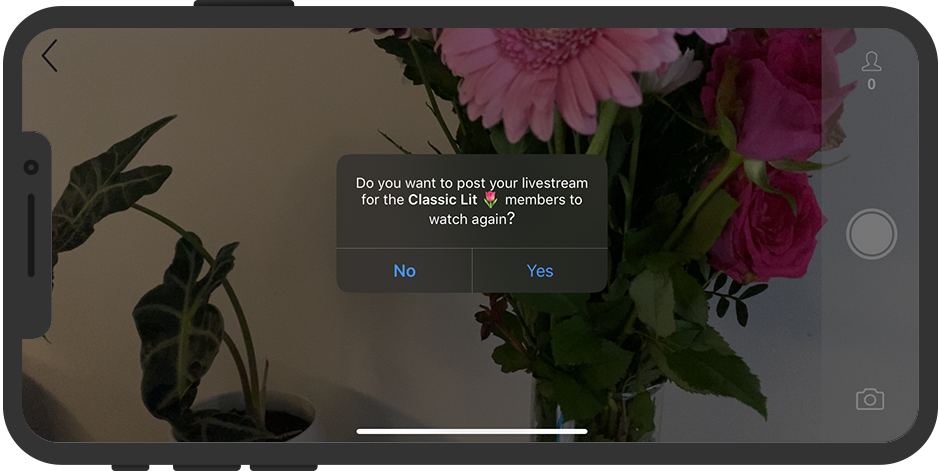
Find out more about livestreaming here.
Pages:
Build out a Page system to store all of your content assets (videos, images, PDFs, blogs) in Pages and share them with your Community.
You can also get creative and map out additional menus or journeys for your Community.
Left to right: Pages thumbnails, article list, mixed asset list (containing videos and pdfs)
The structure and contents can be edited in the Console in real-time, whenever you please.
Access to each Page or Page's content can be restricted by a paywall, allowing you to monetise specific content.
Left to right: Music or audio list, image gallery and video list
Each Page can contain these types of content:
-
- Images
- Videos
- PDF Documents
- Audio files
- Articles
Pages can also link out to external web pages or a specific section in the App.
Find out more about managing your Pages.
